

OEM Stainless Steel Casting: A Complete Guide to Custom Precision Components
2026-10-18
Precision isn't a buzzword—it's the difference between a component that seats perfectly and one that fights your assembly line. If you're sourcing OEM stainless steel castings, you already know the usual pain points: porosity, dimensional drift, and suppliers who promise more than they deliver. This guide cuts through the noise, covering everything from alloy selection to quality control for custom precision components. And when it comes to consistent results, Zhaoyuqi has earned its place in the conversation.
Alloy Choices That Go Beyond Standard 304 and 316
Most engineers know 304 and 316 handle everyday corrosion, but when chlorides, acids, or elevated temperatures enter the picture, these familiar grades can fail quickly. Pitting and crevice corrosion often appear without warning on standard stainless, especially in marine or chemical processing environments where salt concentrations fluctuate. Recognizing those limits is the first step toward specifying a material that actually lasts.
Duplex grades like 2205 and 2507 offer a compelling middle ground. Their mixed austenitic-ferritic microstructure nearly doubles yield strength compared to 316, letting designers reduce wall thickness without sacrificing pressure ratings. At the same time, their higher chromium and molybdenum content sharply improves resistance to chloride stress corrosion cracking—an area where 304 and 316 routinely struggle. For even more aggressive media, super austenitic 904L or 6-molybdenum alloys deliver performance close to nickel-base materials while keeping fabrication closer to stainless practice.
Selection should start with real operating conditions, not just a material data sheet. Temperature swings, pH levels, and the presence of crevices or stagnant flow matter as much as nominal chloride concentration. Testing candidate alloys in the actual process fluid often reveals surprises that generic corrosion tables miss, making the extra cost of a less common grade easy to justify.
Design Features That Prevent Porosity and Shrinkage Before Tooling Starts
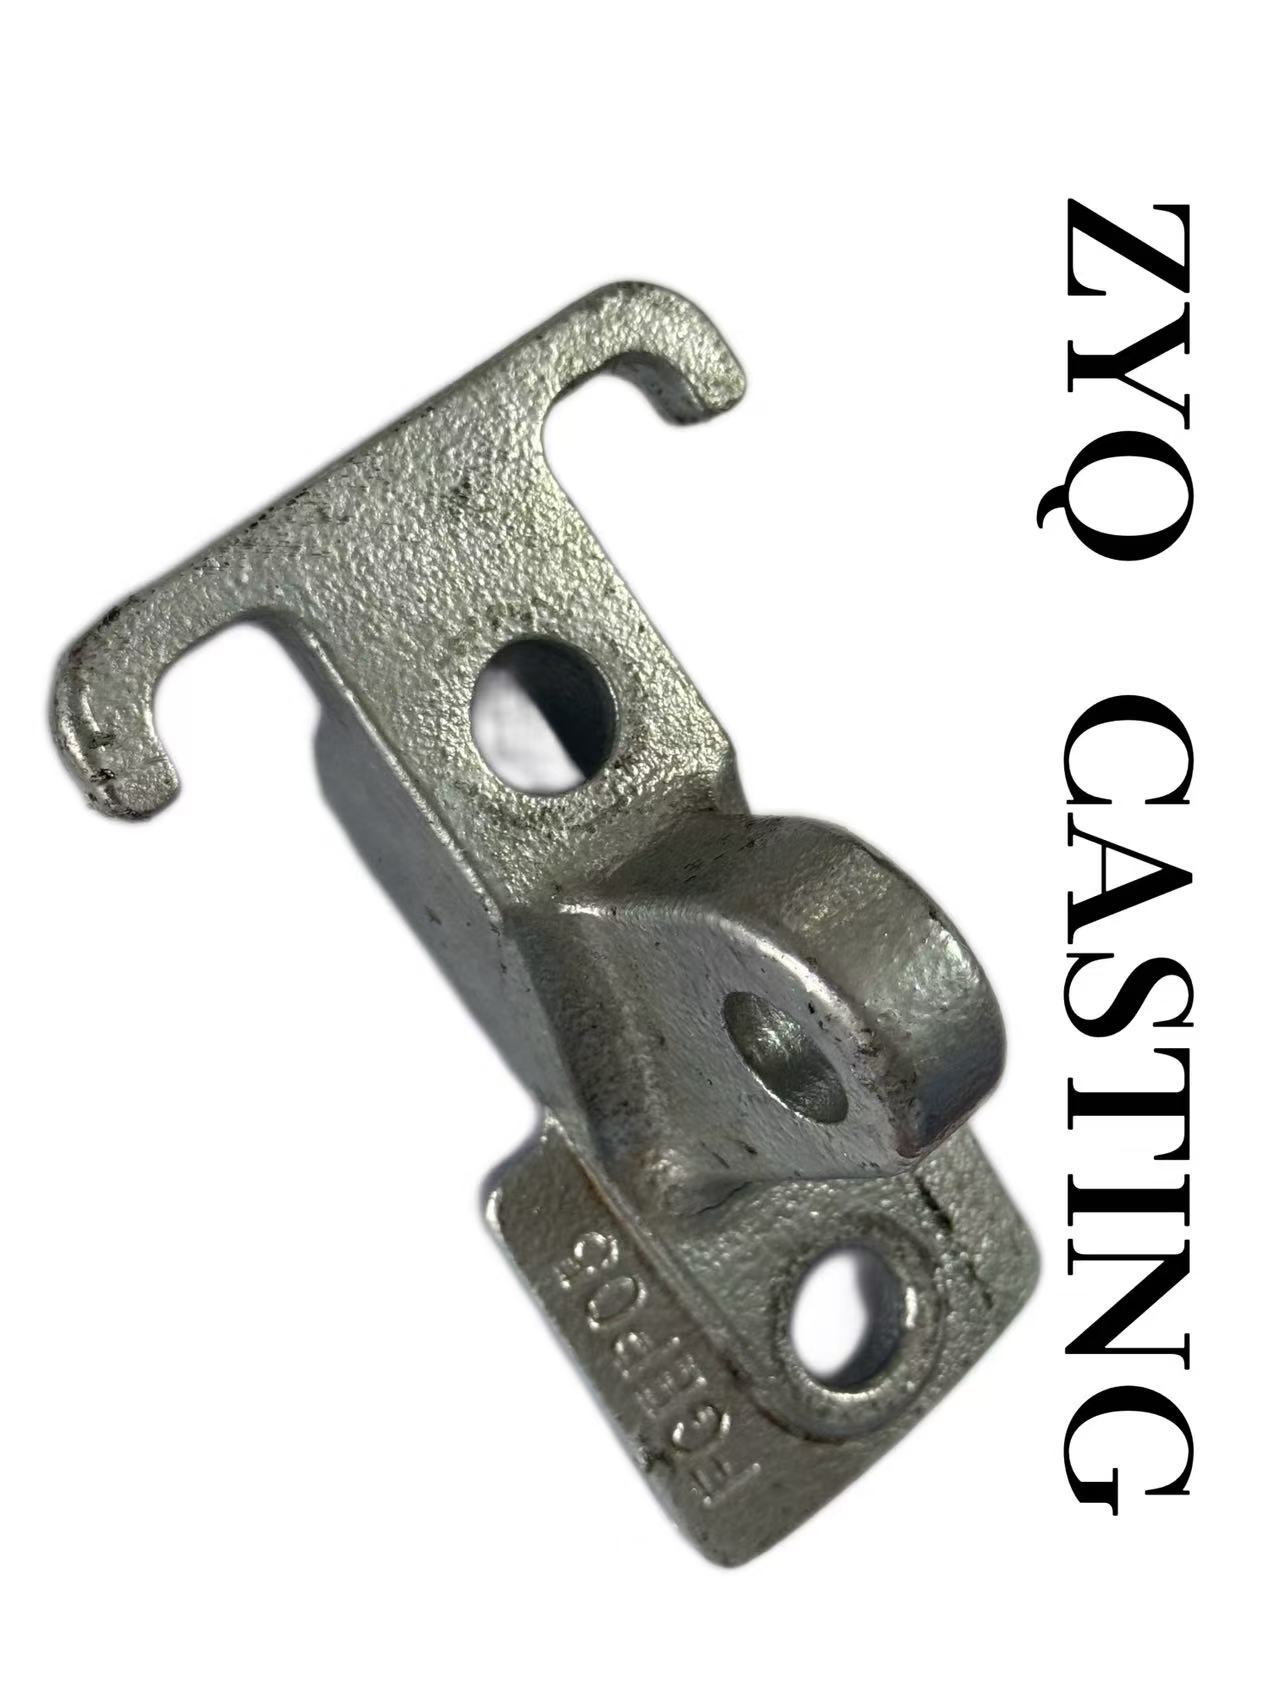
Mold designers often overlook the small geometry choices that quietly determine whether a casting emerges clean or riddled with voids. One key move is to avoid sharp internal corners where the metal flow stalls and feeds poorly; instead, use generous radii that let the molten material sweep through without pooling. Equally important is the placement of ribs and bosses—they should taper gradually and connect to thicker sections with smooth transitions, not abrupt steps that create isolated hot spots. When the part geometry allows, shifting to a uniform wall thickness eliminates the classic thick-to-thin junction where shrinkage almost always takes hold.
Another practical feature is the deliberate use of directional solidification cues. By designing the part so that heavier sections sit near the gate and thinner sections toward the far end, you give the cooling front a clear path to follow, leaving no trapped liquid pocket behind. Draft angles do more than ease ejection; they also help prevent localized turbulence during fill, which is a common source of entrapped air that later shows up as porosity. In complex housings or brackets, adding a few well-placed feed pads or chills as part of the initial design—rather than as a casting fix—can eliminate the root cause before tooling even begins.
For areas that must remain thick, think about coring them out from the backside or replacing solid volumes with ribbed structures that maintain stiffness while reducing mass. This approach avoids the deep section that cools last and shrinks into itself. Also pay attention to how the parting line intersects with critical surfaces; an awkward split can force metal to change direction sharply, encouraging oxide films and gas entrapment. By baking these preventive details into the CAD model early, the toolmaker receives a design that already anticipates the foundry’s physics, cutting down on trial loops and scrap rates before any steel is cut.
How Surface Finish Specs Change the Final Fit and Performance
Surface finish specifications directly control the real contact area between mating parts, which in turn shifts how much preload is retained and how much assembly resistance occurs. In an interference fit, an overly smooth surface reduces microscopic interlocking, making the joint more prone to loosening under vibration; on the other hand, an excessively rough surface can cause high spots to shear off during pressing, generating debris and altering the effective interference.
In sliding or rotating fits, the finish spec affects friction coefficient and oil film formation. If the surface roughness between a shaft and bearing exceeds the design target, initial running-in will consume more material, change the clearance, and possibly trigger localized overheating. A finer finish can establish hydrodynamic lubrication faster, but a mirror-like surface may reduce the micro-reservoirs that hold oil, increasing stick-slip risk under boundary lubrication conditions.
For sealing interfaces, the direction and isotropy of the surface texture matter more than a single roughness number. Spiral tool marks left by turning can become leak paths, while an isotropic ground texture better maintains sealing contact stress. Final fit and performance depend not only on average roughness but also on kurtosis, skewness, and bearing area ratio of the surface profile.
Tolerance Targets and Inspection Methods for Cast Parts
Establishing realistic tolerance targets for cast parts begins with understanding how solidification and cooling introduce dimensional variation. Unlike machined components, castings inherit subtle shifts from mold expansion, thermal contraction, and core movement, so specifying tight tolerances across every surface often drives up cost without adding functional value. A practical approach is to focus on the interfaces that actually matter—bores, mounting faces, sealing surfaces—while leaving non-critical zones with broader allowances aligned to standard casting grades.
Inspection strategies need to match the casting's geometry and production volume. For low-volume or prototype work, coordinate measuring machines offer detailed point clouds but can be slow; for high-volume runs, dedicated gauges or vision systems quickly verify key features. Many foundries also rely on layout inspection with surface plates and height gauges for first article approval, then shift to process control checks on a sampling basis once the pattern or die is proven stable.
A common pitfall is mixing tolerance systems or ignoring the datum scheme. Castings rarely have perfectly flat reference surfaces, so datum targets should be specified on the drawing to replicate how the part is actually held during machining. When this alignment is missing, even a casting within individual feature tolerances can fail assembly because features drift relative to each other. Clear datum definition, coupled with a tolerance stack analysis at the design stage, often reveals where allowances can be loosened without hurting performance.
Certifications and Material Traceability Worth Requesting
A certificate on file is not the same as a certificate that means something. When sourcing raw materials or finished components, push for documentation that ties the actual batch to a specific production run. Ask for mill test reports for metals, composition statements for plastics, or chain-of-custody records for wood and paper. This level of traceability helps you catch substitutions before they become failures.
Look beyond the usual ISO 9001 plaque. Depending on what you buy, request certifications that map to real risks: UL or ETL for electrical parts, FDA or NSF for food-contact materials, REACH or RoHS compliance for electronics, and FSC or PEFC for timber. A supplier that hesitates to share these documents often lacks the internal controls to guarantee consistency.
Make traceability operational by requiring lot numbers, heat numbers, or batch IDs on every invoice and packing slip. Then keep a simple log linking those numbers to your incoming inspection results. If a defect appears later, you can isolate the affected product in minutes instead of issuing a broad recall. This habit also encourages suppliers to treat your orders with more care, since they know records will be checked.
Prototype to Production: Lead Times, Tooling Costs, and Scaling Realities
The jump from a working prototype to full-scale production rarely follows the timeline most teams expect. A prototype can be machined, 3D-printed, or hand-assembled in days, but production tooling—whether injection molds, stamping dies, or automated fixtures—typically adds eight to sixteen weeks before the first off-tool samples even exist. That lead time isn't just a scheduling inconvenience; it forces hard decisions about design freeze dates, because any geometry change after tooling starts can add thousands in rework costs and delay the entire program. Many first-time founders discover too late that the prototype they've been showing investors was never actually manufacturable at target volumes, and the 'minor tweak' they requested becomes a four-week tooling modification.
Tooling costs are the great unspoken budget killer in hardware development. A simple single-cavity aluminum mold might run $5,000–$15,000, but a multi-cavity steel tool for high-volume production easily exceeds $50,000, and complex parts with slides, lifters, or overmolding can reach six figures. The less obvious expenses come from bridging tooling, soft tooling for pilot runs, and the inevitable revisions when first articles reveal sink marks, warp, or tolerance stack-ups that never showed up in CAD. Teams that treat tooling as a one-time line item often scramble when they need a second cavity to meet demand or discover that the tool's expected lifetime is half what the vendor quoted.
Scaling realities hit hardest in the gap between pilot production and steady-state manufacturing. Running 50 units on a benchtop is nothing like sustaining 500 units a week with consistent quality, incoming material variance, and operator turnover. Yield rates that look great at 90% on a pilot run become unacceptable when you're scrapping 50 units per 500, and suddenly you're negotiating with contract manufacturers over who eats the rework cost. The honest picture is that most products need two to three production cycles after tooling is complete to stabilize processes, lock in suppliers, and bring defect rates under control—a period where margins are negative and the team is surviving on faith and bridge loans rather than healthy unit economics.
FAQ
Precision usually comes down to the process more than the alloy. Investment casting, for example, holds tighter dimensional control and better surface finish because the wax pattern reproduces fine details and the ceramic shell offers a smooth mold face. You might see linear tolerances around ±0.005 inch per inch for smaller features, while sand casting would be looser. The real test is whether the part can skip secondary machining in critical areas and still fit its assembly without hand fitting.
Go with 316 when the component will face chlorides, salt spray, or aggressive cleaning chemicals. The molybdenum addition gives it noticeably better pitting resistance, which matters for marine hardware, pharmaceutical processing, and outdoor enclosures. If the environment is mild and cost is tight, 304 often does the job. For high strength or severe corrosion, duplex grades are worth evaluating, though they tend to be harder to cast and machine.
Early design choices have a big impact. Keeping wall thicknesses as uniform as possible reduces shrinkage porosity and distortion. Adding proper draft angles and generous radii helps the metal flow and the shell release cleanly. Sharp corners and sudden section changes are common causes of cracking or hot tears. Designing for the casting process from day one usually saves more money than trying to machine a poorly cast blank into tolerance later.
For investment cast stainless steel, a typical as-cast surface might fall around 125 RMS or better, depending on the shell material and pattern finish. That is smoother than sand casting but not as smooth as a machined surface. If the application needs a mirror-like finish, electropolishing or mechanical polishing after casting will be necessary. The as-cast finish is often good enough for internal passages and non-sealing surfaces.
Cracking is often tied to thermal stress and alloy behavior. Stainless steels shrink more than carbon steel and some grades are sensitive to slow cooling through certain temperature ranges. Parts with uneven sections or sharp internal corners can develop stress risers. Proper gating design, controlled cooling, and solution annealing for austenitic grades help relieve stress and restore corrosion resistance. A foundry with experience in stainless alloys will design the mold and heat treat cycle to minimize those risks.
Verification starts with the foundry's material certifications and continues with dimensional inspection and non-destructive testing. For critical parts, dye penetrant or radiographic testing can catch subsurface defects. A first article inspection report should compare key dimensions against the drawing. Some buyers also request a sample lot for corrosion testing or metallographic analysis. The goal is to confirm both the alloy chemistry and the mechanical integrity before accepting production quantities.
Yes, and that can be a big cost saver. Instead of machining several small parts and welding or fastening them together, you can invest cast a single piece with integrated bosses, flanges, and mounting features. It reduces assembly labor and potential leak paths. The trade-off is design complexity and tooling cost, so it makes sense when the combined part's shape is manageable and annual volume justifies the pattern investment.
Heat treatment is not optional for most stainless castings. Austenitic grades need solution annealing to dissolve carbides and restore corrosion resistance after casting. Martensitic grades require quenching and tempering to reach their designed hardness and toughness. Duplex grades need careful temperature control to avoid harmful intermetallic phases. Skipping or shortening heat treatment can leave the part with poor ductility or reduced corrosion performance, even if it looks dimensionally correct.
Conclusion
Material selection in OEM stainless steel casting often gets reduced to a 304 versus 316 debate, but real differentiation comes from alloys engineered for specific failure modes. Duplex grades, precipitation-hardening options, and low-carbon variants handle chloride stress corrosion, high wear, or post-cast machining far better than generic austenitic choices. The next overlooked lever is tooling design. Riser placement, gating geometry, and chills are not afterthoughts—they determine whether a part will have micro-porosity or shrinkage voids long before metal is poured. Simulation-driven adjustments at this stage save more cost than downstream inspection ever can.
Surface finish specifications are not cosmetic; they directly influence sealing faces, bearing journals, and fatigue life. A 125 RMS finish may pass for a bracket but will leak or gall on a valve body, so the print must state which surfaces are critical and how they will be verified. Tolerance targets need equal clarity—castings typically hold ±0.005 in/in for small features, while true position callouts require hard gauging or CMM inspection, not just visual checks. Beyond dimensional data, request material certifications that trace each heat number to the pour, and if the part serves pressure or safety functions, insist on PMI testing and pressure test reports. Finally, prototype to production is rarely linear: rapid prototype tooling may cost less upfront but yields different shrink rates than production dies, so plan for a bridge phase. Honest lead-time conversations—typically 6 to 12 weeks for first articles—prevent schedule collapse when scaling from dozens to thousands of units.
Contact Us
Contact Person: Nico Yin
Email: [email protected]
Tel/WhatsApp: 8618561567088
Website: https://www.ductileironparts.com/